Want to showcase image comparison on your website without the hassle? Bricks Ultra’s Image Compare element is the solution! This element allows you to compare two images seamlessly, highlighting significant changes while maintaining perfect size and resolution.
With the Before and After Image comparison feature, you can captivate your visitors and build trust by visually displaying transformations effortlessly. Unlike traditional methods that involve photo editing tools, Bricks Ultra simplifies the process, making it user-friendly and efficient.
Enhance your website’s appeal with this fantastic element, creating a captivating Before/After effect that engages your audience. Say goodbye to complex editing and hello to a visually stunning presentation of image transformations with Bricks Ultra’s Image Compare element.
Table of Contents
In this article, we will implement a visual comparison between two images and how you can use Image comparison in the Bricks Builder. Here is an example of what we are trying to achieve.

Note: You must have the Bricks Builder theme installed and activated in terms of using the Bricks Ultra Plugin.
Step 1: Installation and Activation of the Bricks Ultra Plugin
To use the Comparison Table element, you must first install and activate the Bricks Ultra plugin.

Step2: Add Image Compare to the Bricks Builder
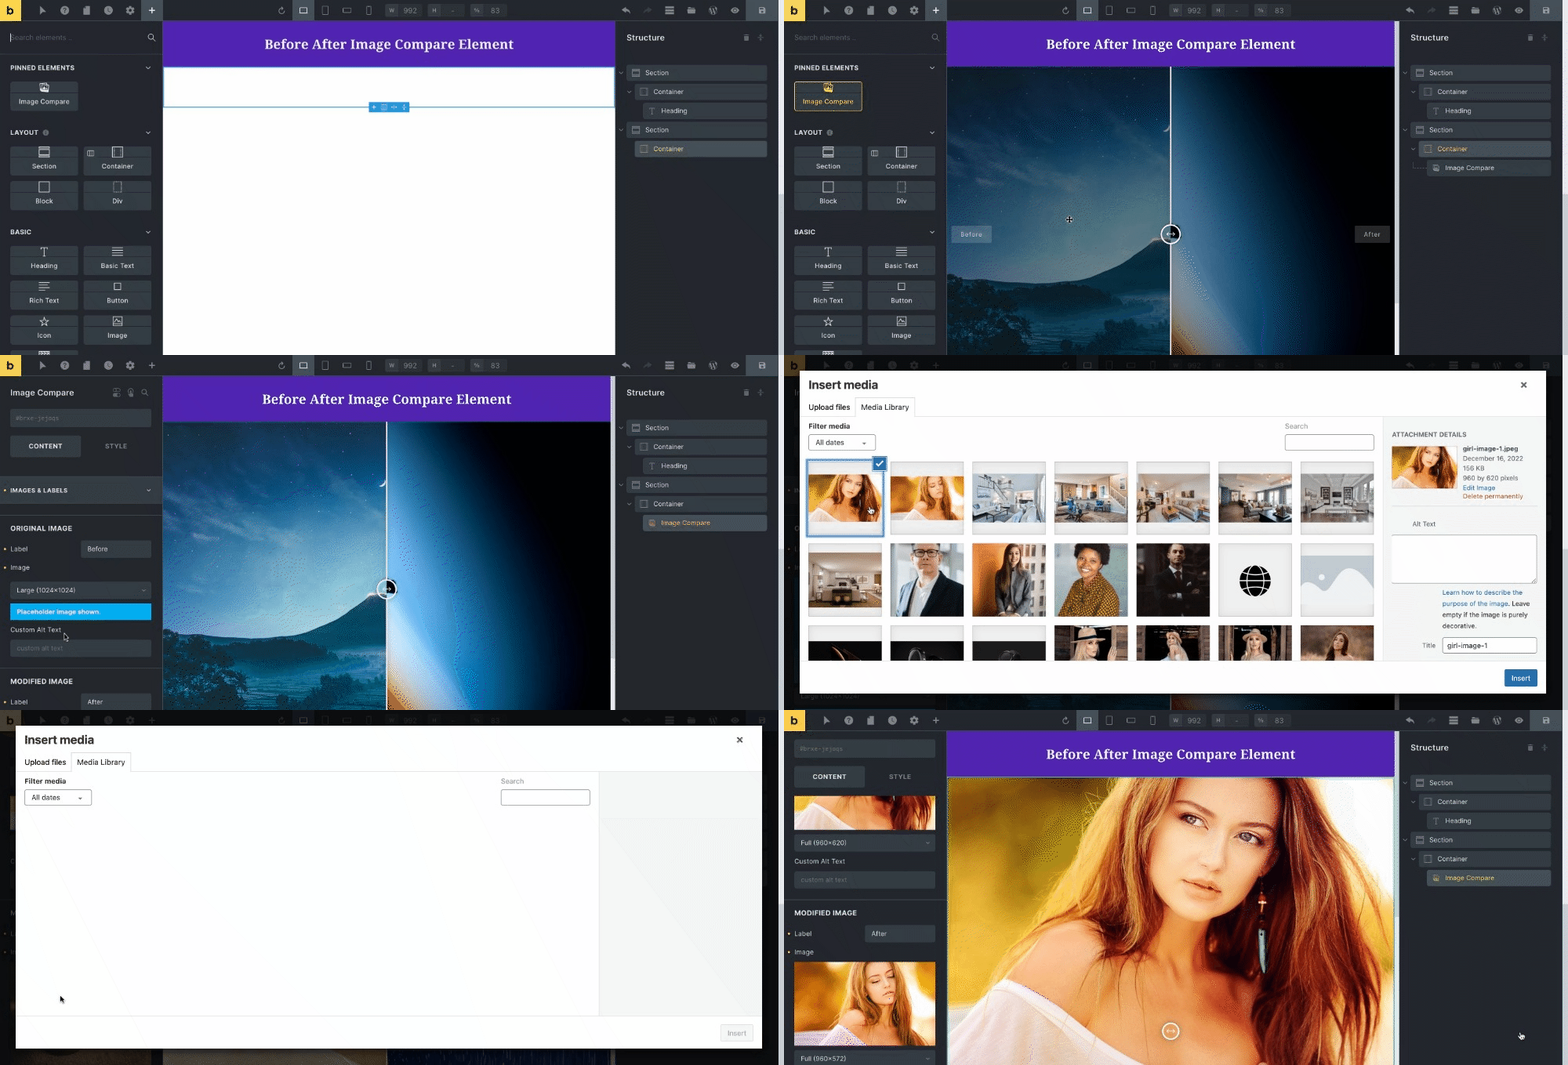
To start with, you must create a page or any template where you want to add the Image Compare element. Now drag and drop the element. You will see the Image Compare element with default settings.
Head over to the “Image & label” section of the element.
Image Compare Element
In the “images & label” section, set the images and labels of the original and modified sections as per your need. Then, add the “Alt text” to the picture. By default, placeholder images are placed in the element.

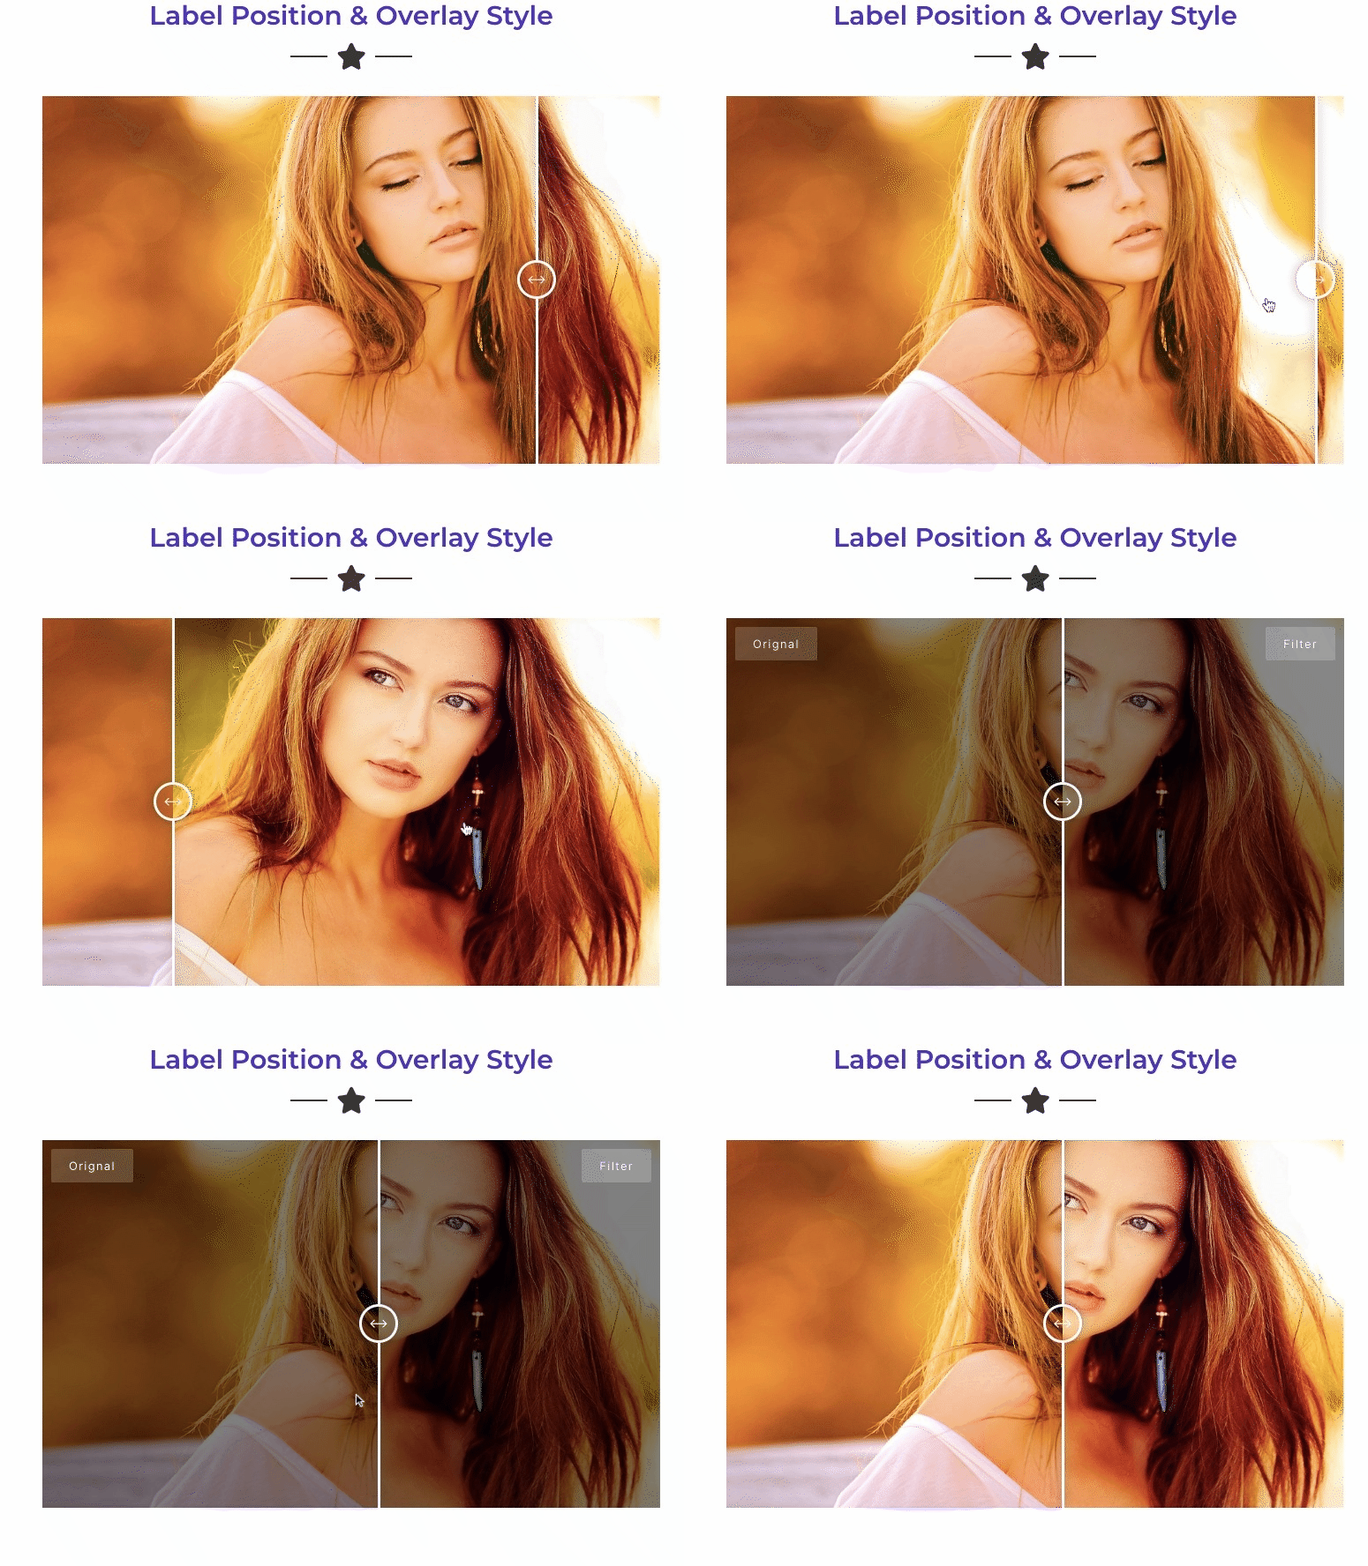
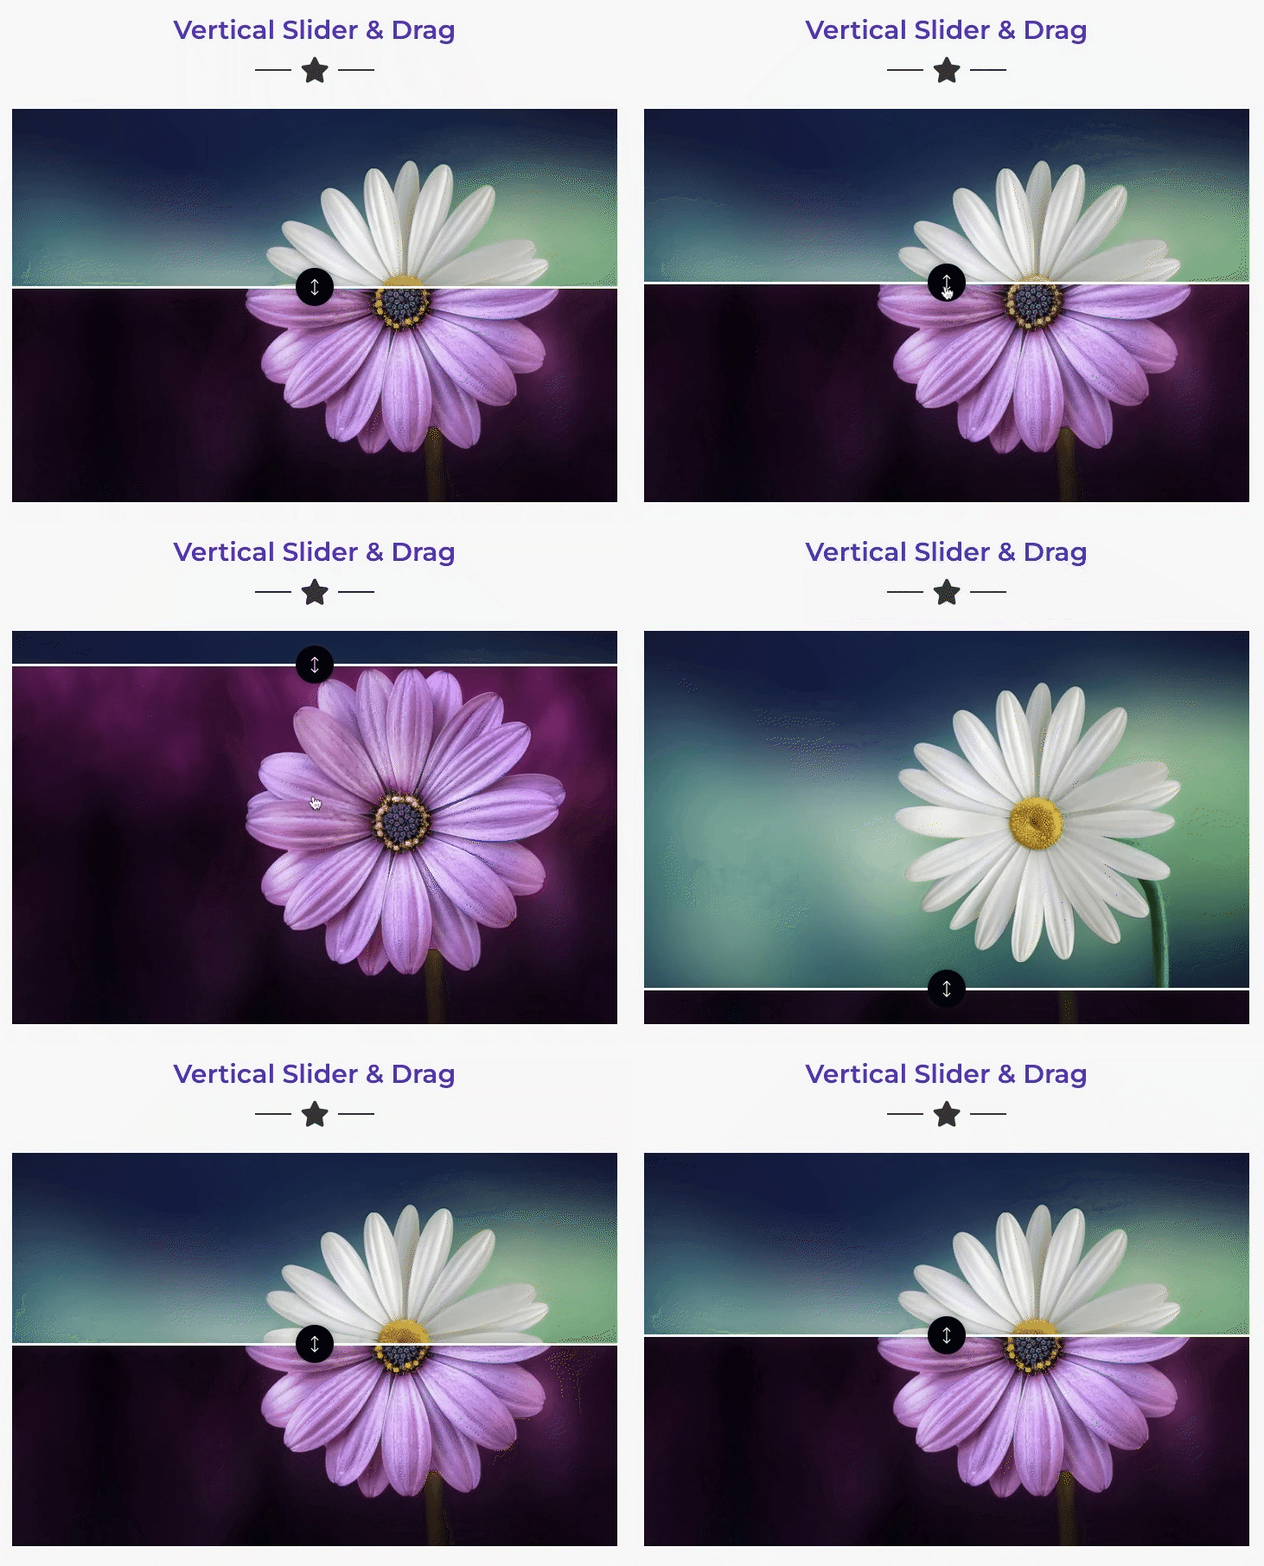
After choosing the images, you can choose the orientation style of the section and how it will slide horizontally or vertically. You can trigger the effect either on mouse hover or dragging. You can also change the style of the divider and handler. Furthermore, you can increase or decrease the divider’s width. You can even change the icon, color, and alignment of the handle.
You can alter the styling option of the label as per your theme. Even you will find settings to adjust the text position, typography, color, padding, and margins for the labels.
Final Outcome
Here, we are showcasing a few demos using the Image Compare element.


FAQs on Image Compare Element in Bricks Ultra
How many images can Bricks Ultra’s Image Compare element compare at once?
You can compare two images horizontally or vertically using the Image Compare element. It lets you easily see the differences between the two images in an efficient way.
Is the Bricks Ultra’s Image Compare element responsive?
Yes, Image Compare, and all other elements in Bricks Ultra can adjust to any device screen. So, whether you’re using a big computer screen or a small smartphone, everything will look good and work properly.
How can Image Compare element benefit businesses?
The Image Compare element is a helpful element for businesses to demonstrate the effectiveness of their products or services. It allows visitors to see the transformation from “before” to “after,” which can build trust, enhance the user experience, and potentially increase engagement and conversions.
Can I customize the label in Image Compare element?
Yes, you can easily customize the label by adjusting features like color, background color, border, typography, and position.
Wrap Up
Bricks Ultra has a significant element that allows visitors to quickly and easily see the differences between images side by side. The use of an “After Before” image comparison feature on a website can be a powerful tool for businesses looking to showcase the effectiveness of their products or services. By allowing visitors to see the transformation from “before” to “after,” businesses can build trust and enhance the user experience, potentially leading to increased engagement and conversions.
You can also visit the demo and documentation of Image Compare Element to know more about it.
If you have any queries, feel free to get in touch with us.
Key Takeaways
- Bricks Ultra’s Image Compare element offers an interactive way to showcase before and after images, allowing visitors to easily visualize significant changes.
- Implementing before/after image comparisons can engage visitors and build trust by demonstrating the impact of transformations, such as product enhancements.
- Users have the flexibility to customize the Image Compare, including orientation, sliding style, trigger effects, divider appearance, handle design, and label styling.
- Visitors can easily see the differences between images side by side, leading to increased engagement and potential conversions.
- Installation and Activation of the Bricks Builder theme and Bricks Ultra plugin are necessary to use Image Compare Element.