Integrating an Instagram feed into your website can make it more engaging and visually appealing. But, to connect your Instagram feed to your site, you need an Instagram access token, a unique key that allows your website to connect to Instagram and display your Instagram feed. Once you have this token, you can connect your Instagram account to your website, and your feed will show up on your website.
In this guide, we’ll show you how to generate your Instagram token easily. This token helps connect your Instagram feed to your website, making it easy to showcase your photos and videos. By following these steps, you’ll attract more followers and increase engagement on your site.
Steps to Generate Instagram Feed Access Token
Now, let’s talk about how to get an Instagram token. First, make sure your Instagram account is set to business or creator so you can generate the token.
To begin, it is important to have a Meta (Facebook) account for developers or make one if you don’t have one yet.
When you’re ready, you can do these steps to generate an Instagram Feed Access Token.
- First, log in to your Meta for Developers Account. Then, find and click on the “My Apps” option at the top right of the page.

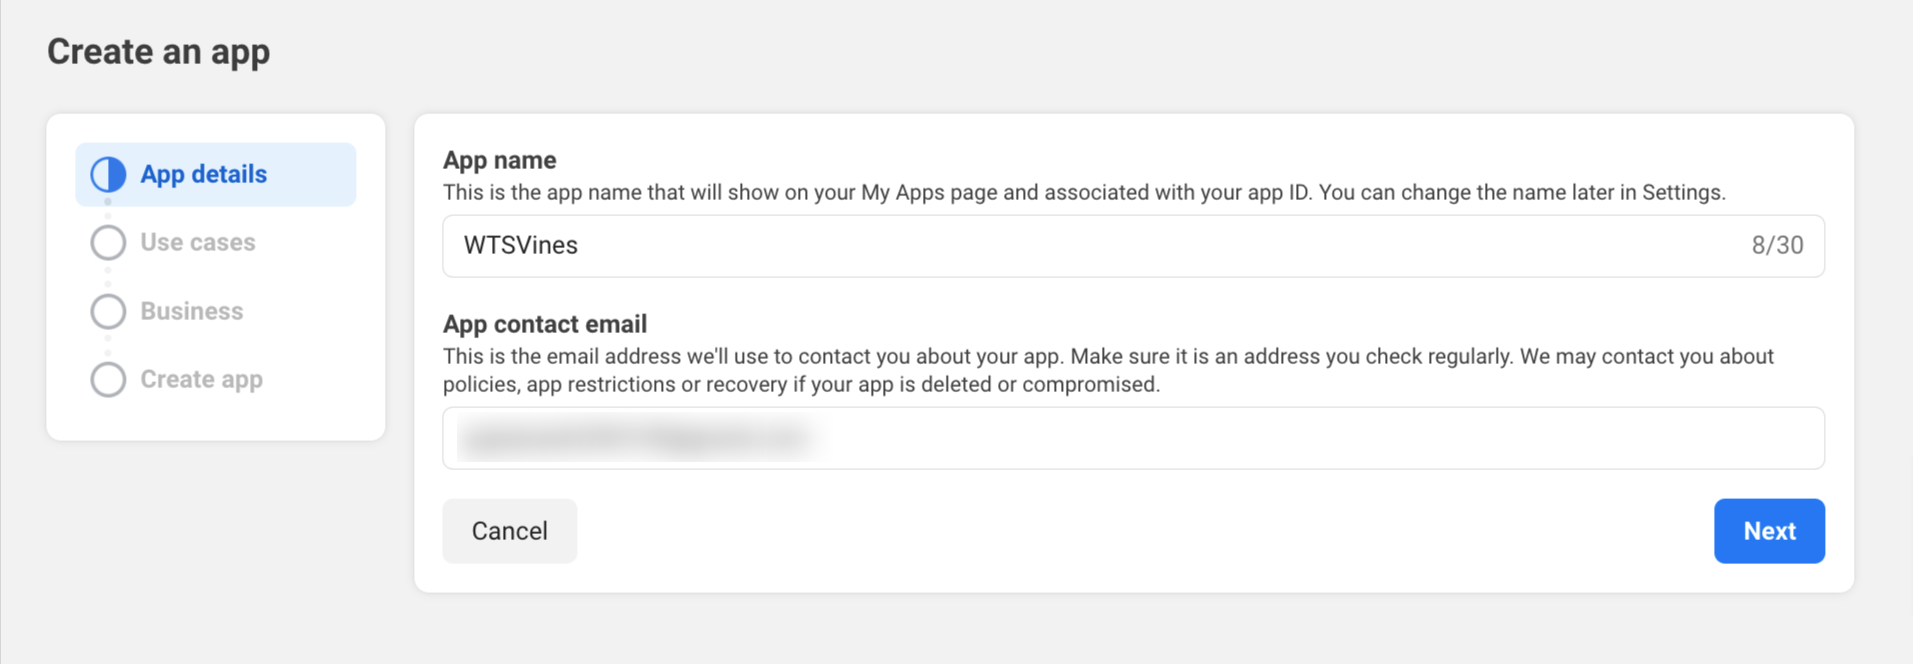
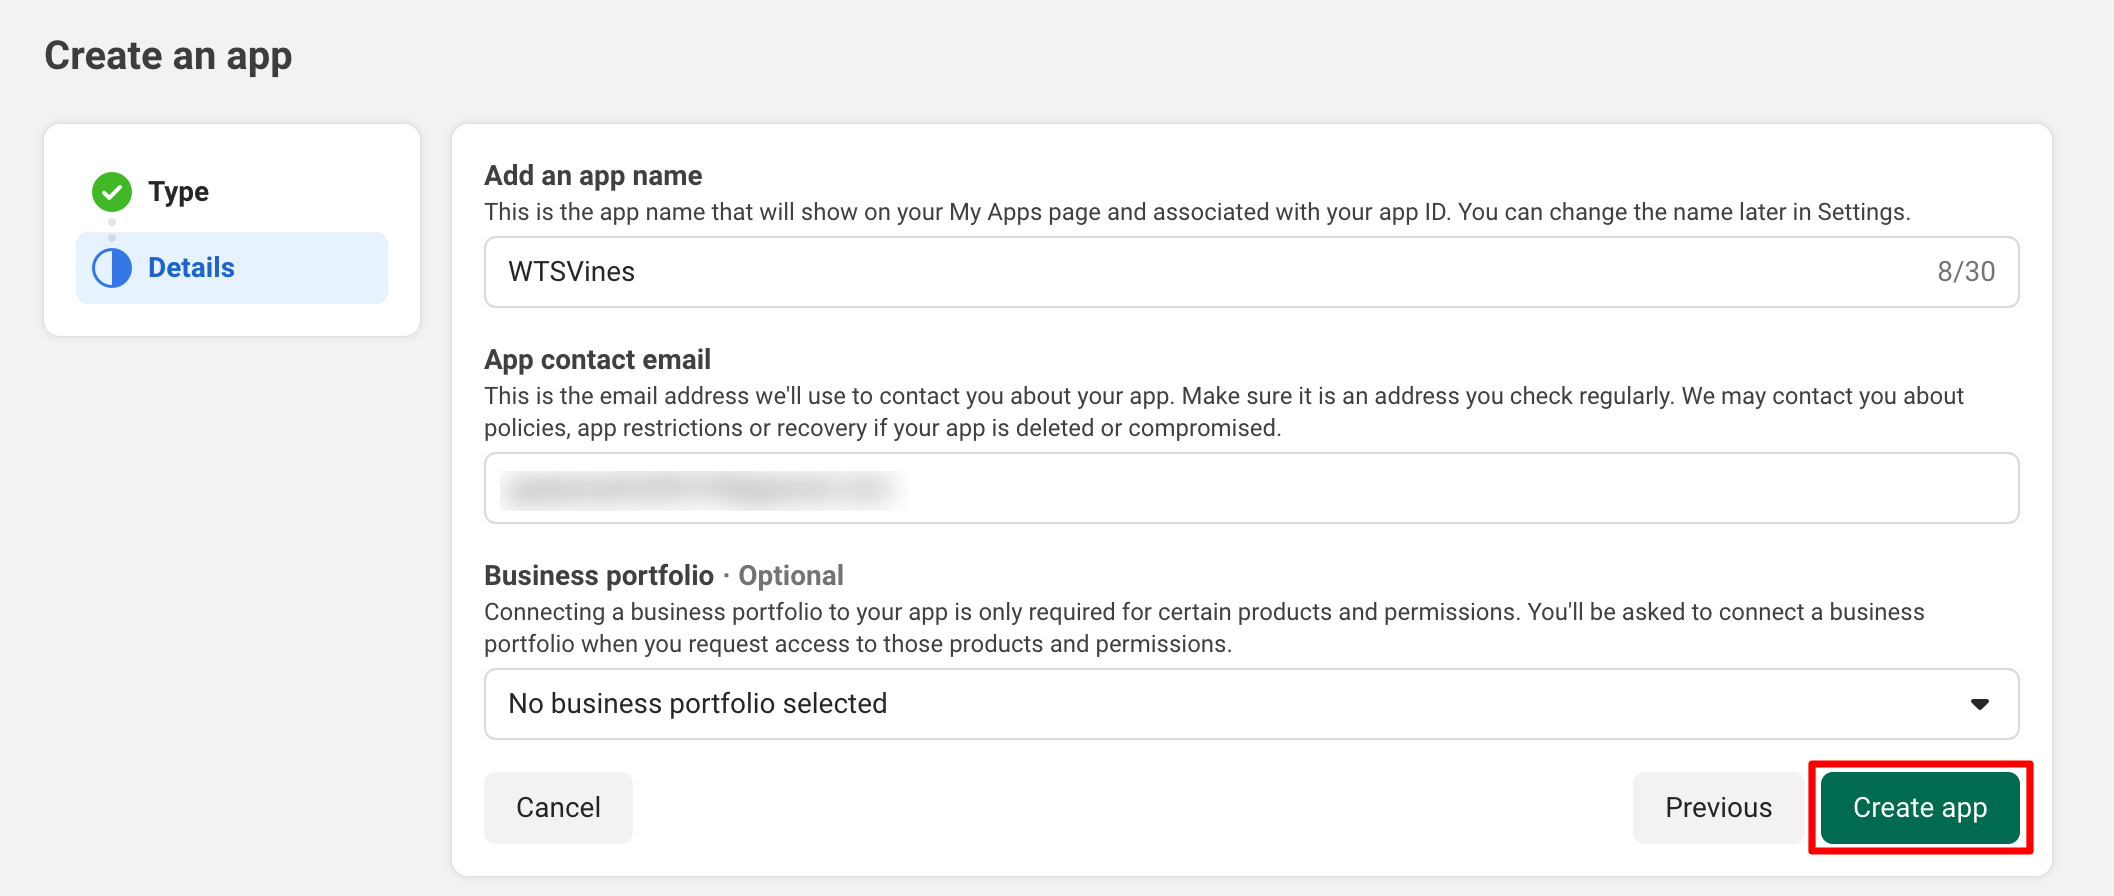
- Then, create a new app by clicking on “Create App” button. After that, enter the App details like App name & contact email, and click on Next.
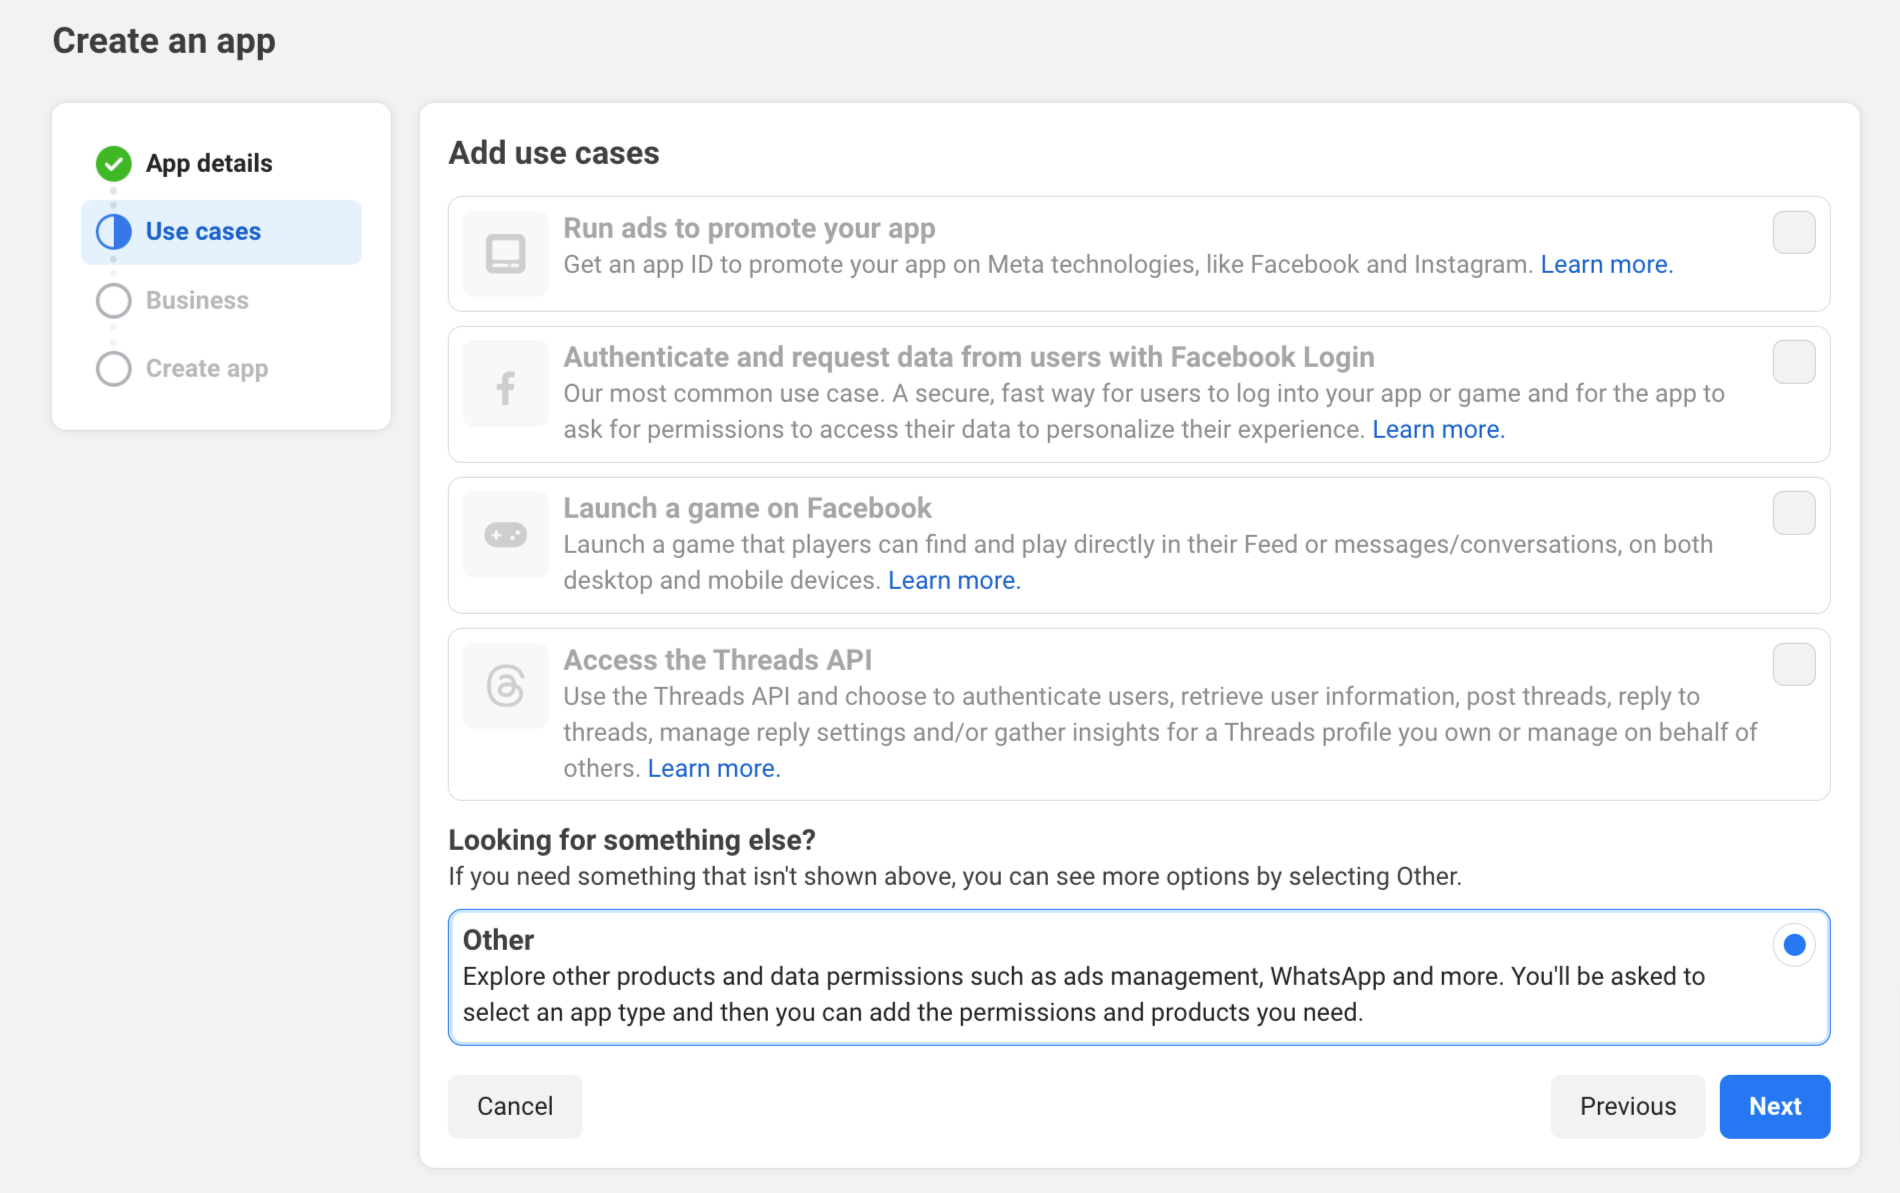
- Select Other as Use Cases, and click on the Next button.
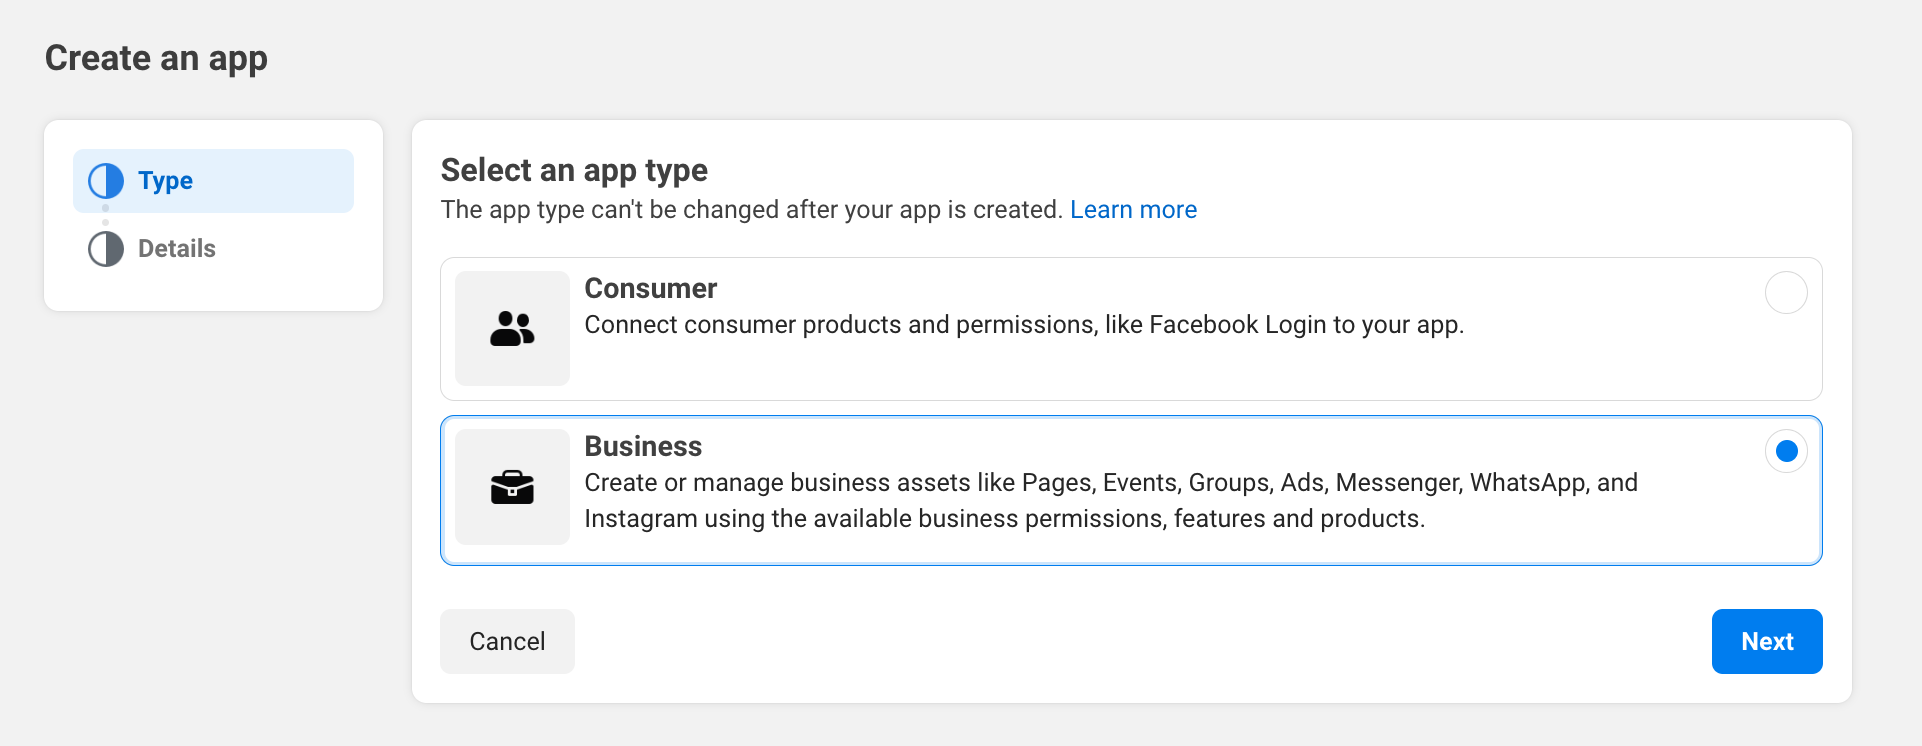
- After that, select “Business” for the type of app, and then click “Next.”
- Next, review the app details. If you want to make any changes, do so. Then, click the ‘Create App’ button. You will be prompted to enter your Facebook password for security.
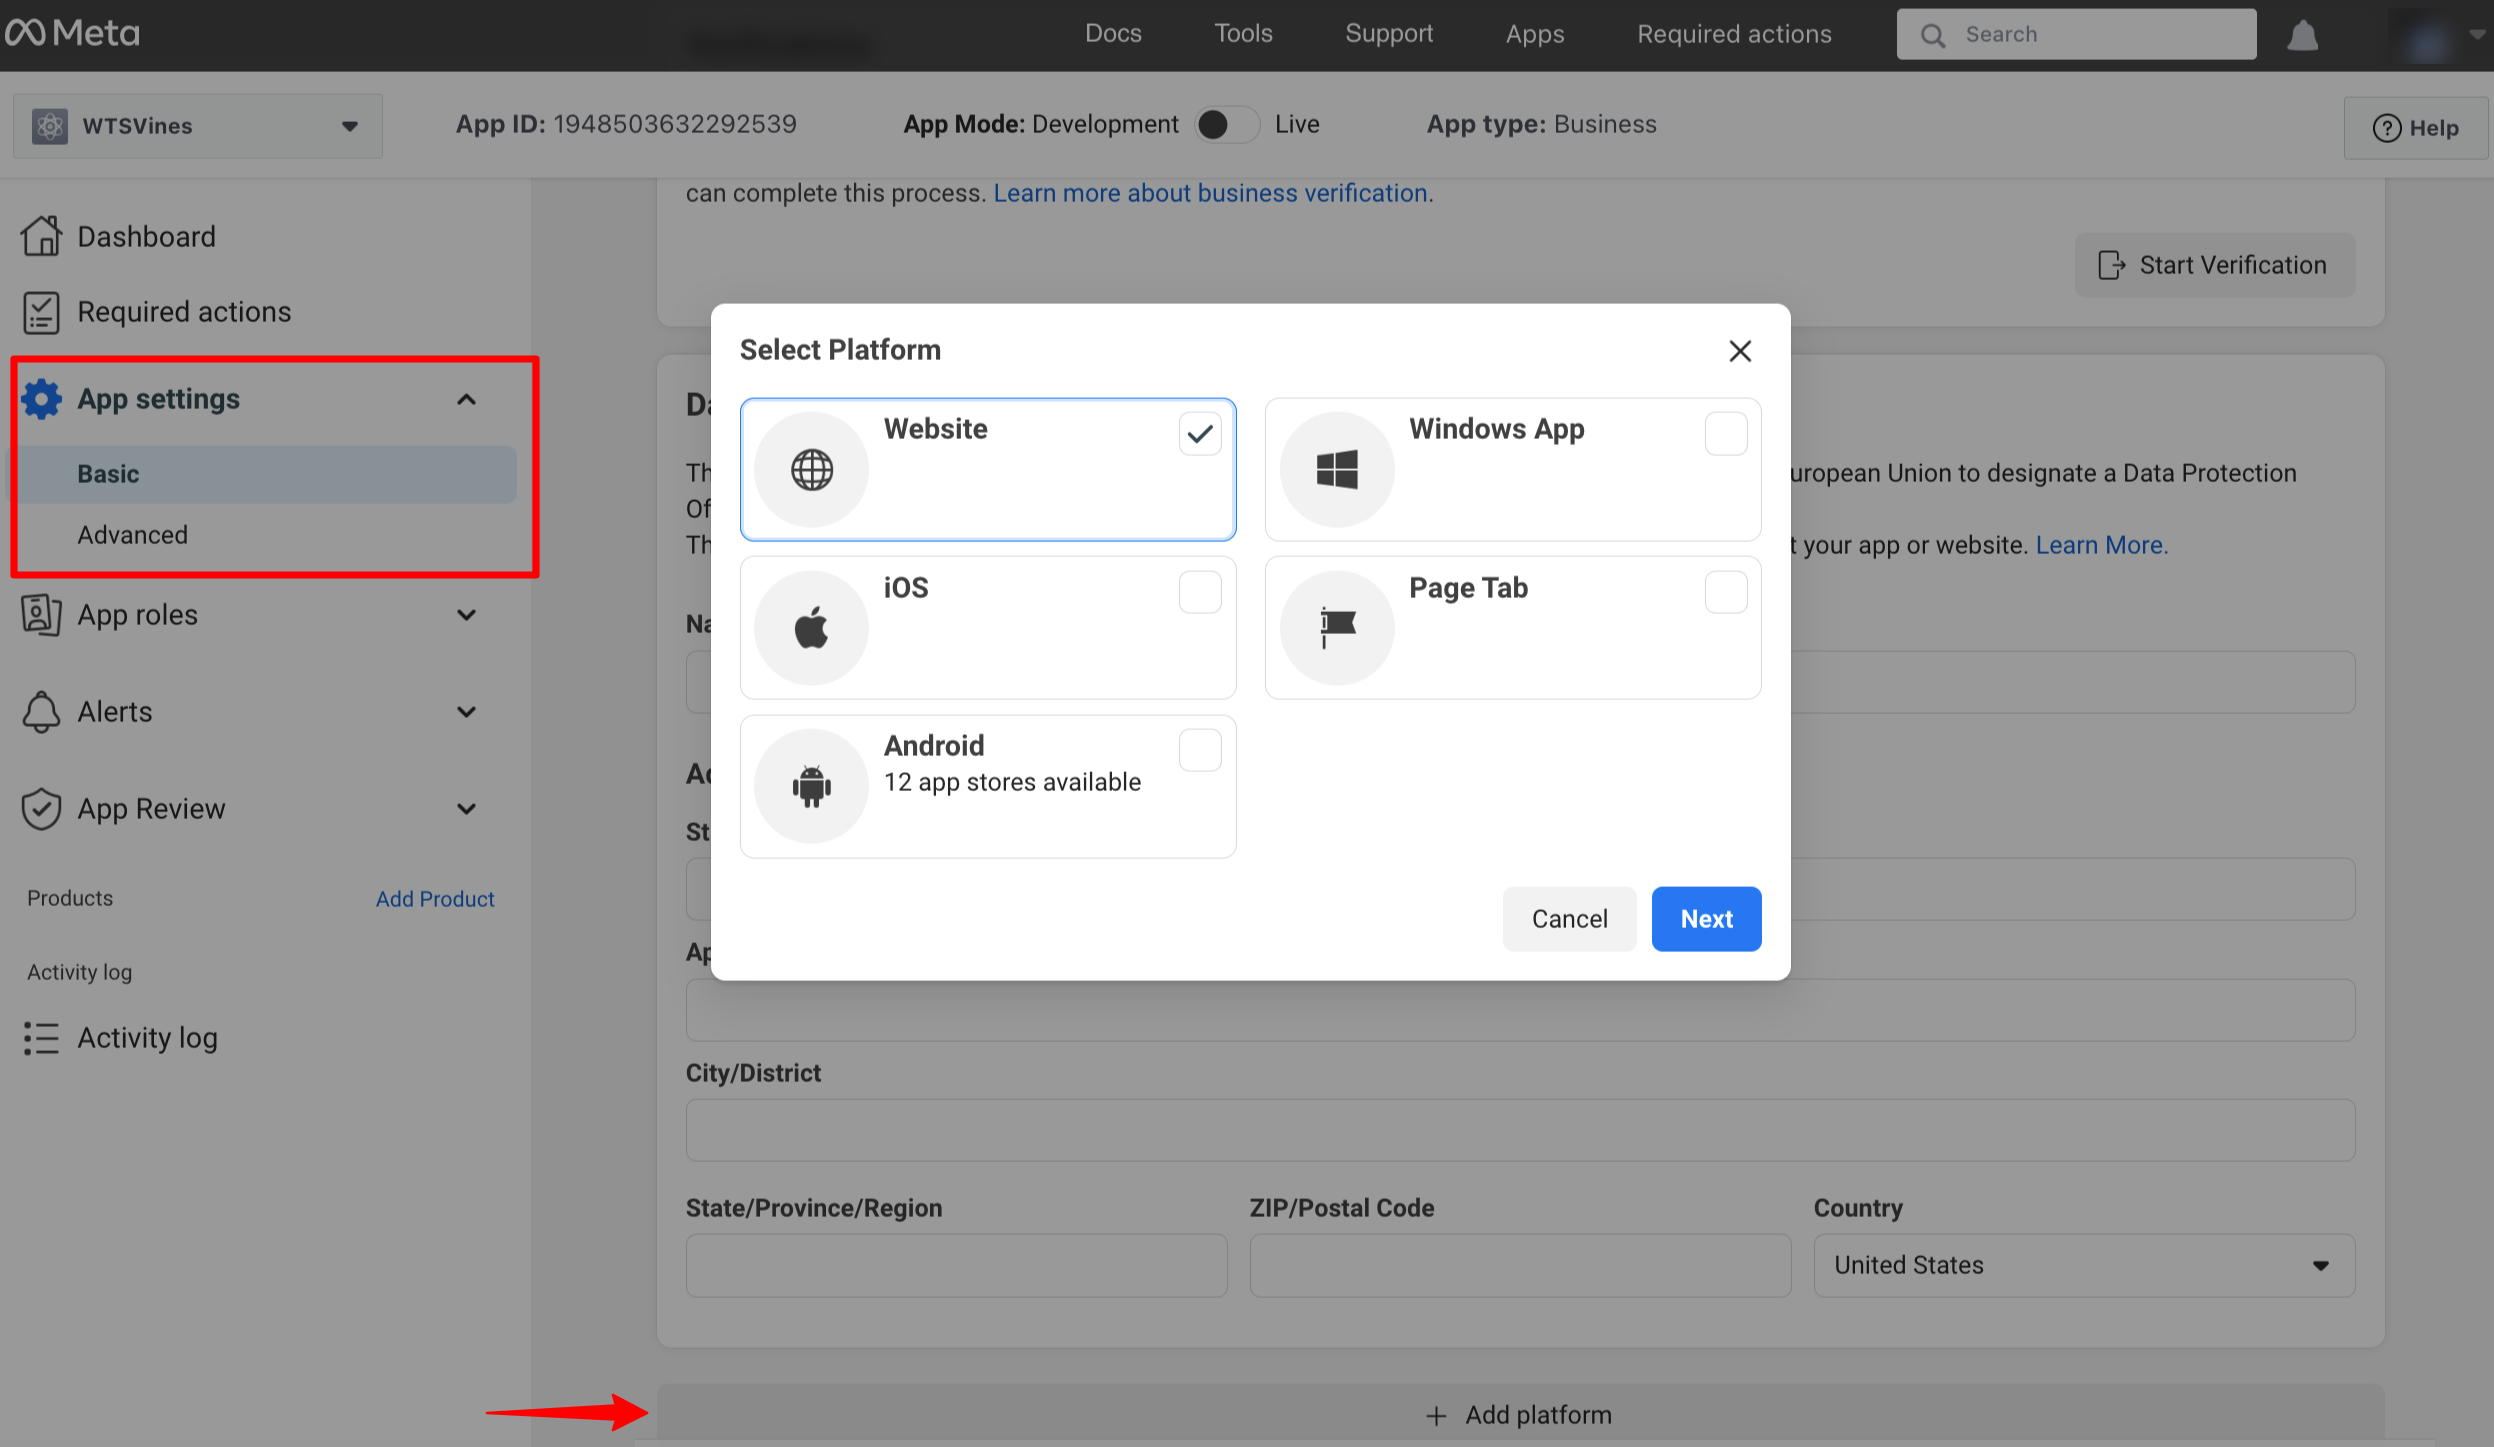
- Once your app is created, you’ll be redirected to the App Dashboard. Then, go to App Settings -> Basic. Scroll down and find the “Add Platform” button at the bottom. Click on it, choose “Website” as your platform, and then click “Next” to continue.
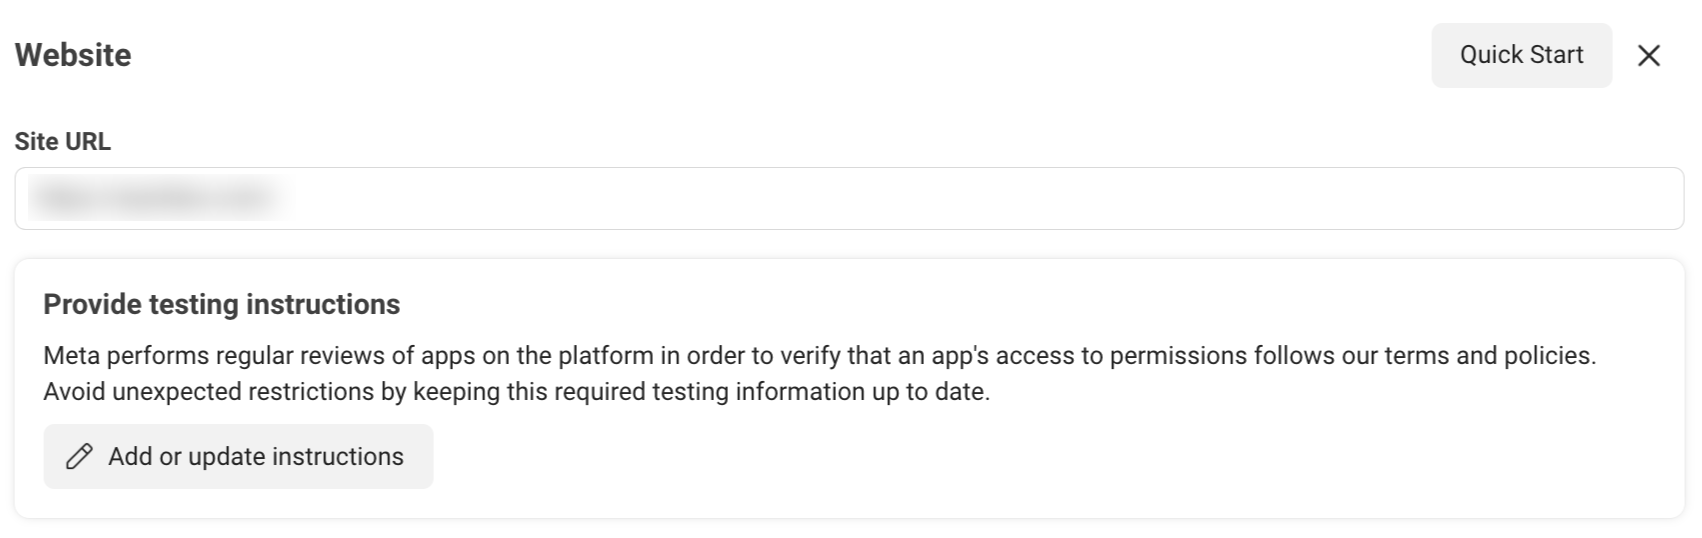
- Now, you’ll see a new section with the “Site URL” field appearing. Enter your website URL there, and don’t forget to save your changes.
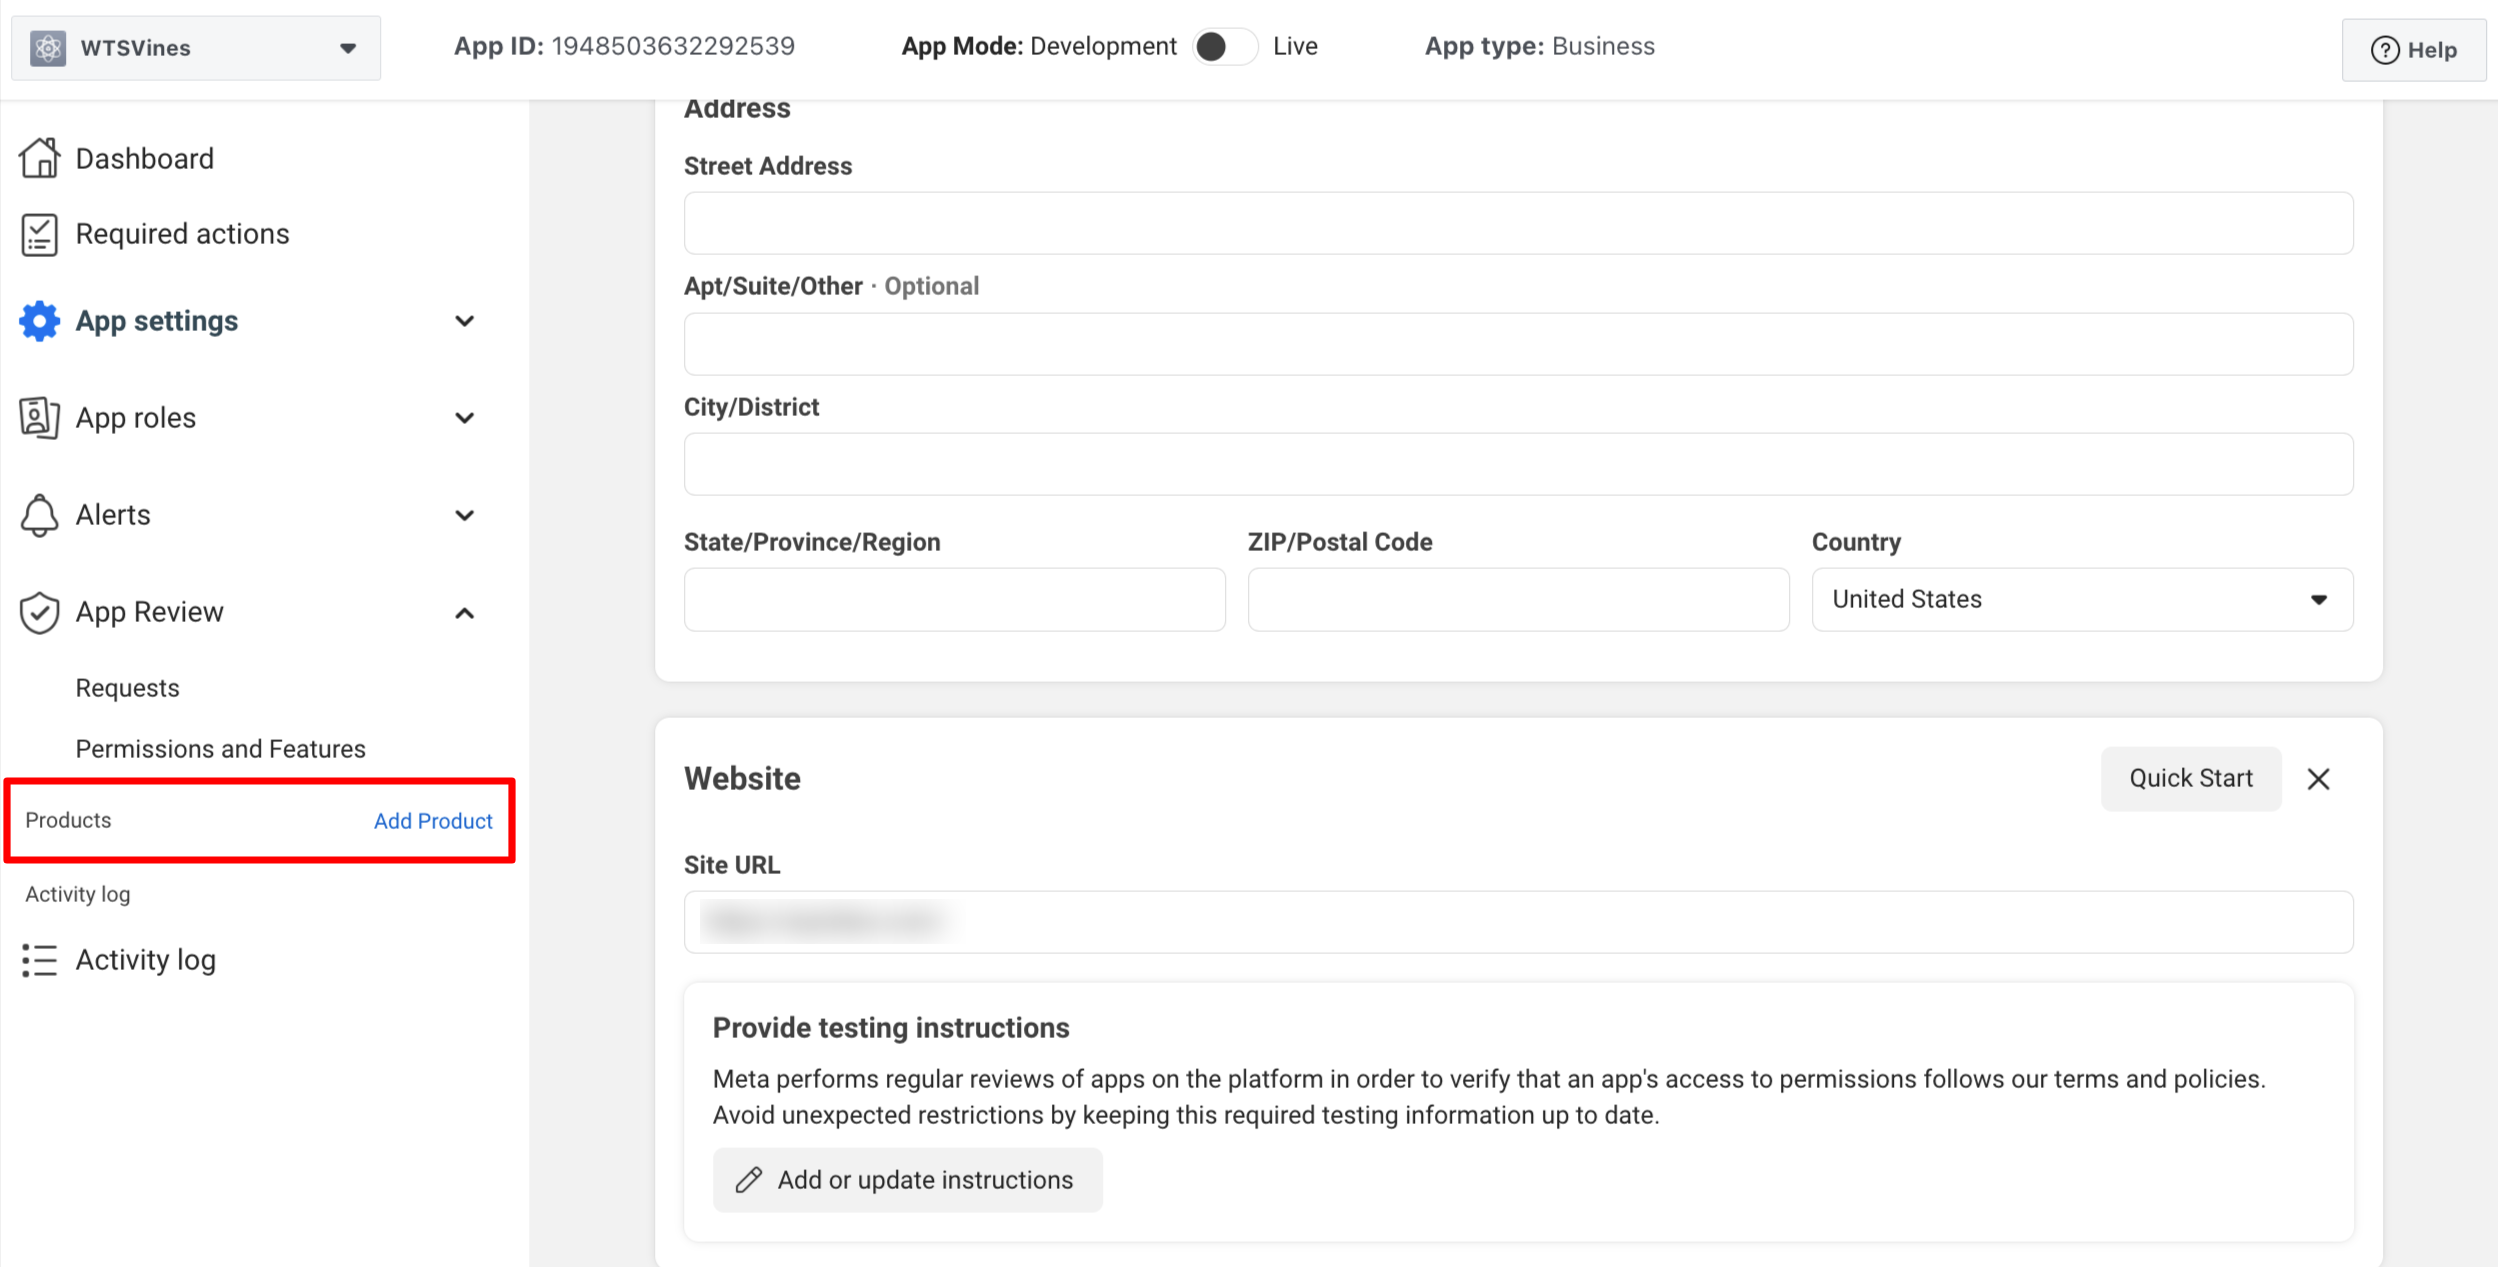
- Then, Go to the menu on your App Dashboard and choose “Add Product.”
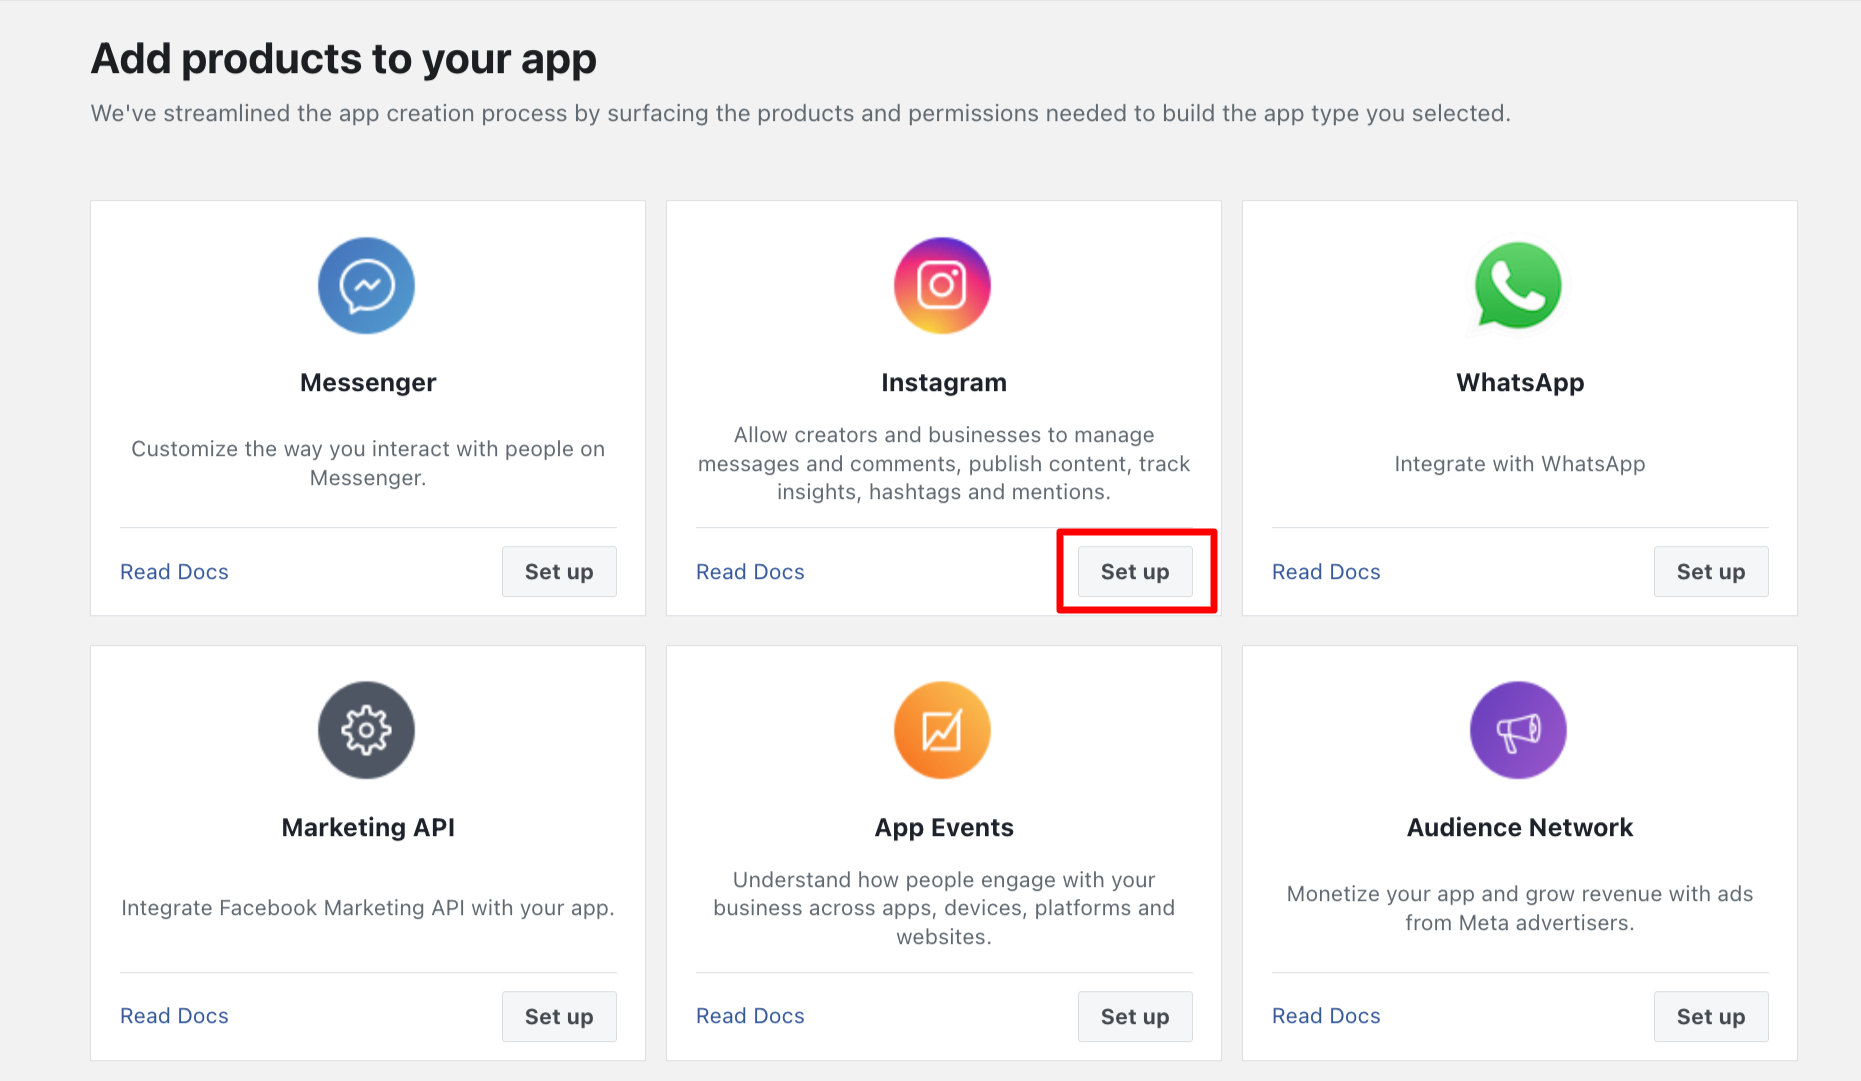
- Next, keep scrolling until you see the “Instagram” option, then click the “Set Up” button next to it.
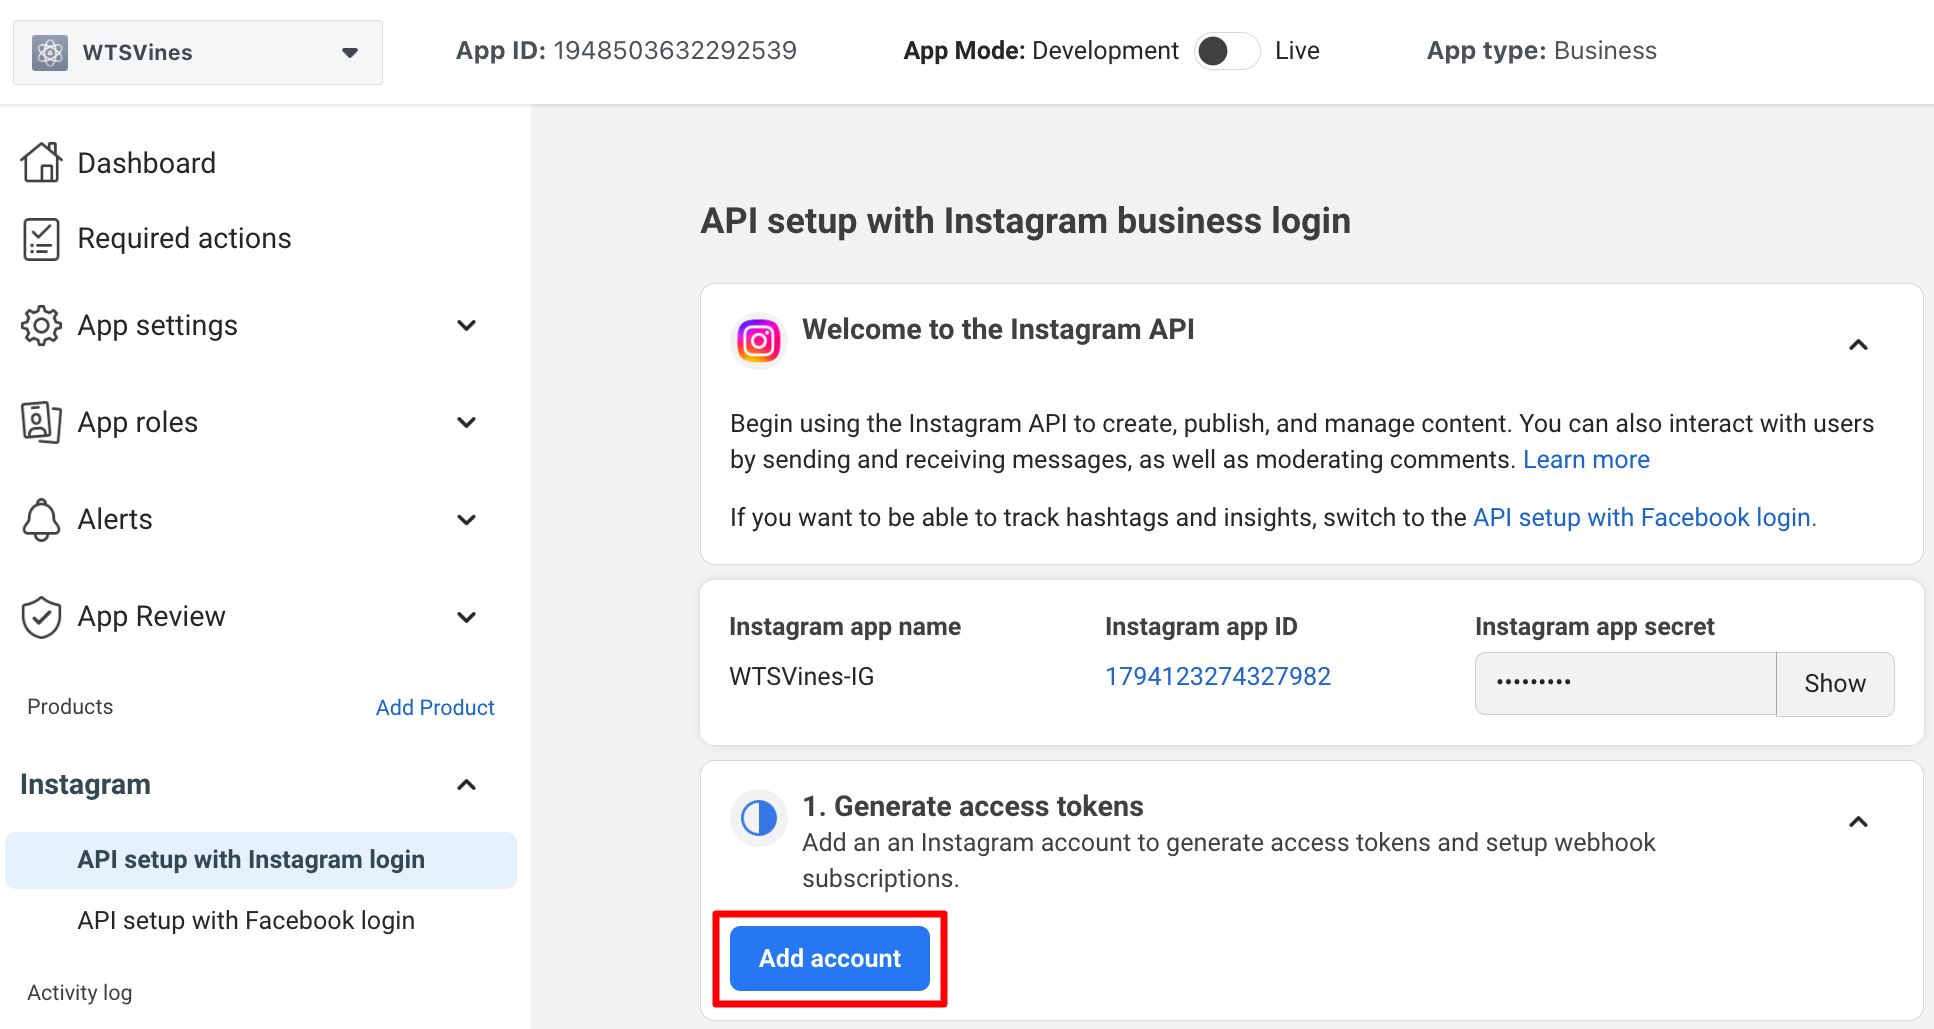
- Once you click on setup, you will be redirected to the API setup dashboard. Here, click on the “Add account” button under the Generate access tokens option.
- After you click on the “Add Accounts” option, you’ll see some information before getting the Instagram access token. Read it, then click the “Continue” button.
- Then, you’ll be asked to log in to your Instagram account and grant some permissions.
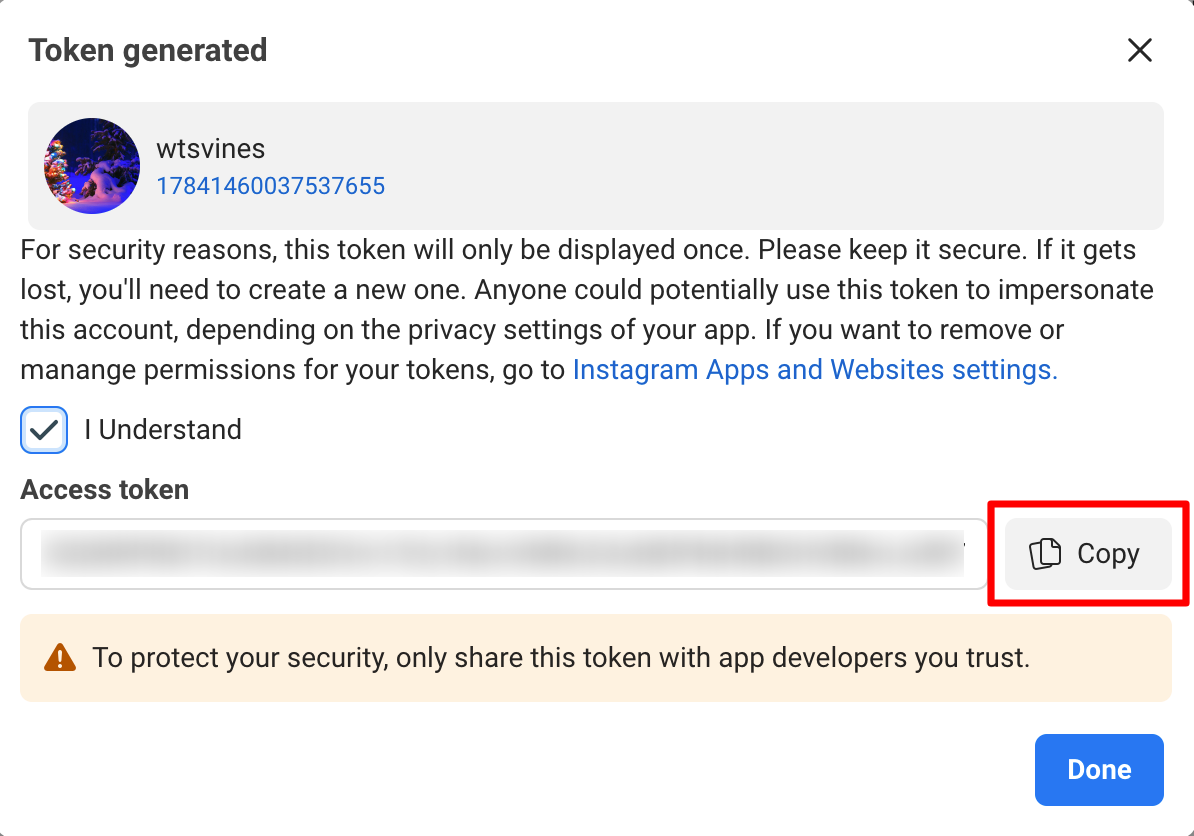
- Next, you’ll be taken to the API dashboard. Click on the “Generate Token” button and grant the requested permissions.
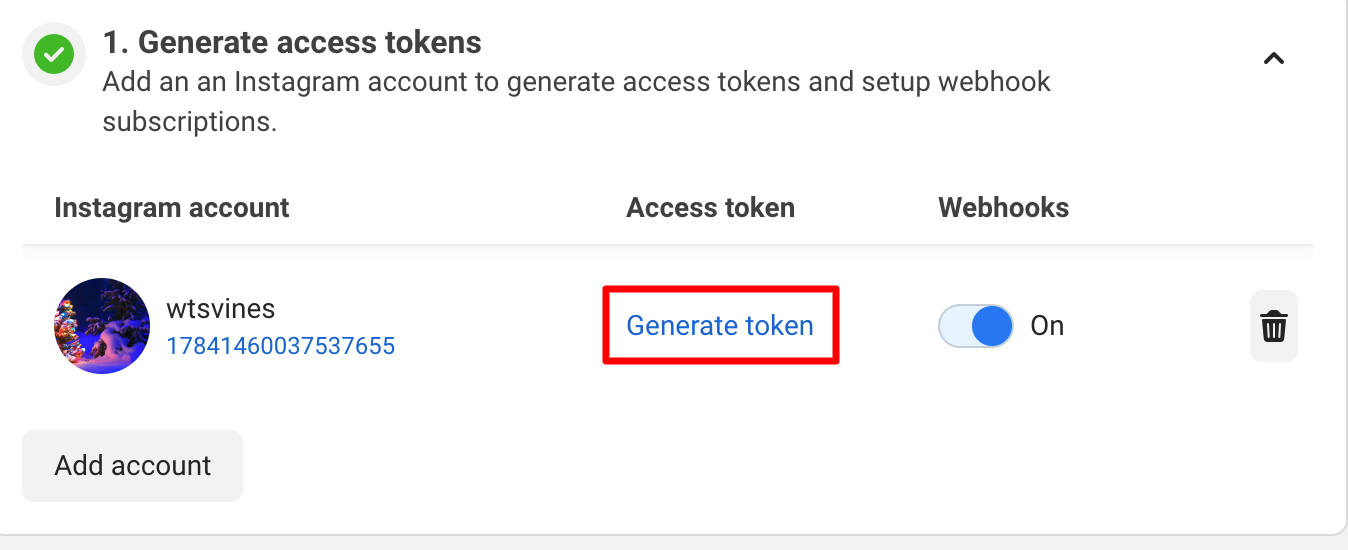
- Finally, it will show the generated token, which you can use with our Instagram Feed element to display your Instagram feed on your website. Simply copy the token and use it.